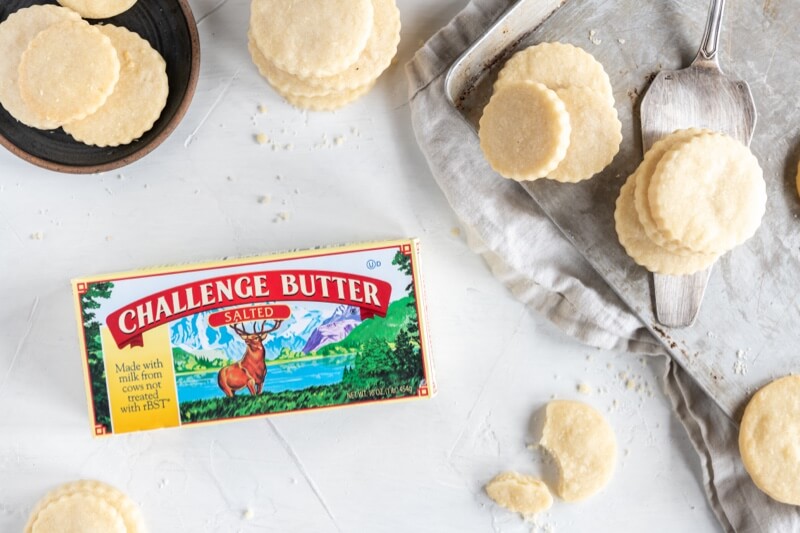
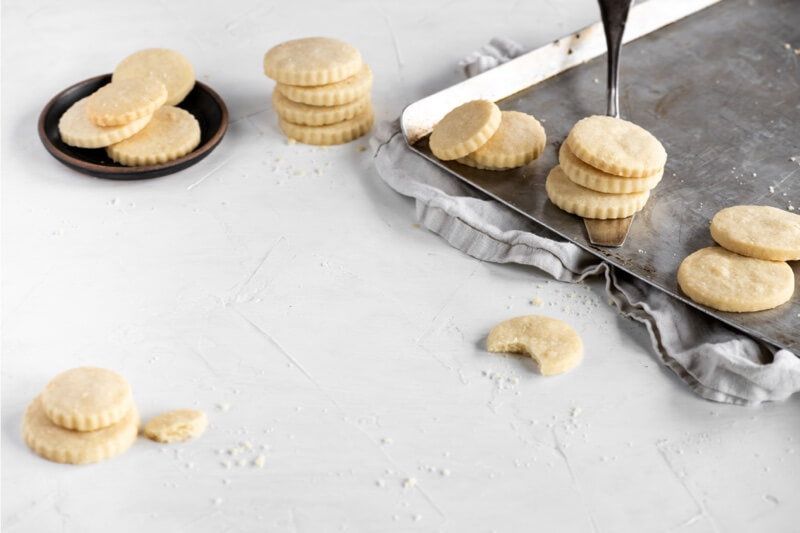
Want a simple recipe that puts butter in the spotlight? There may be no more beloved dish than the humble butter cookie. Crispy, golden and sweet, these treats are made with minimal ingredients. But don’t let that fool you: butter cookies require skill, practice, and persistence.
In the lexicon of desserts, it’s easy to confuse the different types of butter cookies, most of which have European roots: shortbread from Scotland, sablés from France, Danish biscuits from Denmark, etc. These tend to be ancient recipes handed down through time, from regions and countries that historically excelled at dairy and butter production.
Traditional butter cookie recipes do not include a leavening agent like eggs or baking soda, which gives them a cracker texture rather than a soft one. (In fact, the Scots called their butter cookies “shortbread” as a way of distinguishing a crumbly cookie i.e. “short,” from a glutenous one like a soft or pliable bread, i.e. “long.”) This made for a less perishable treat, one that could last several weeks or even months. The same remains true today: shortbread and butter cookies can stay delicious for weeks in an airtight container.
Our recipe for Shortbread Butter Cookies is one of the simplest, most bang-for-the-buck formulas we know, but it takes a bit of know-how to get it just right. Here are our most reliable moves for mastering the butter cookie.
Use the best quality ingredients — especially butter.
In a recipe with three ingredients, there’s nowhere to hide; every element has to be strong or a lack of quality will show. Butter is the most critical ingredient here (it’s in the name of the recipe!), and its ratio to the sugar and flour is very high, so using a high butterfat boutique butter will pay off. We use Challenge European Style Butter, which has 83% butterfat, in contrast with the average 80% butterfat of other butters. This means creamier, more concentrated flavor, silkier texture, and a crisper crust.
Soften the butter, but don’t melt it.
Let your Challenge European Style Butter sit on your kitchen countertop for a couple of hours to soften it.
Be gentle with the dough.
While glutinous bread dough needs to be worked to get its silken texture, shortbread suffers under too much contact. The trick is to mix the creamed butter and sugar with the flour until it is just incorporated, but no further. Overworking the dough will produce tough cookies that lack the delicacy or lovely snap of a good butter cookie.
Don’t roll the cookies too thin or too small.
When you roll out your butter cookie dough, it will be tempting to squeeze as many shapes as possible out of it. But if you over-roll the dough, your cookies will be so thin, they’ll bake and brown too quickly. For a not-too-dark cookie, keep the thickness between ¼” and ⅓”. The same goes for cutting shapes too small. For scale, think of the size of a Danish butter cookie from one of the traditional round tins. That’s the correct size: slightly bigger than a half dollar, about 1½” in diameter.
Watch and smell for doneness.
Oftentimes, the difference between a veteran baker and a newbie is the ability to smell for doneness. With their high butterfat content, butter cookies can burn easily. Turn on your sense of smell as they bake in the oven, as well as your sense of sight. The recipe calls for 15-18 minutes in the oven, but all ovens are different. Don’t walk away from the kitchen as the cookies bake, and don’t rely too much on your timer. When the cookies’ aroma changes over from “doughy” to “baked through,” open the oven door and pull the pan out. With a thin metal spatula, lift one cookie to see its underside. When the bottom is just brown, it’s time to let the cookies cool. Otherwise, put them in for a couple of additional minutes at a time, checking their undersides at each interval.
Let the cookies cool completely.
When you remove your butter cookies from the oven, they will still be soft. To enjoy the satisfying crumbly break of a butter cookie, you’ll need to let them cool all the way to room temperature. If you’re concerned that your cookies aren’t brown enough on the bottom, let them cool in the pan. Otherwise, remove them to a cooling rack.


