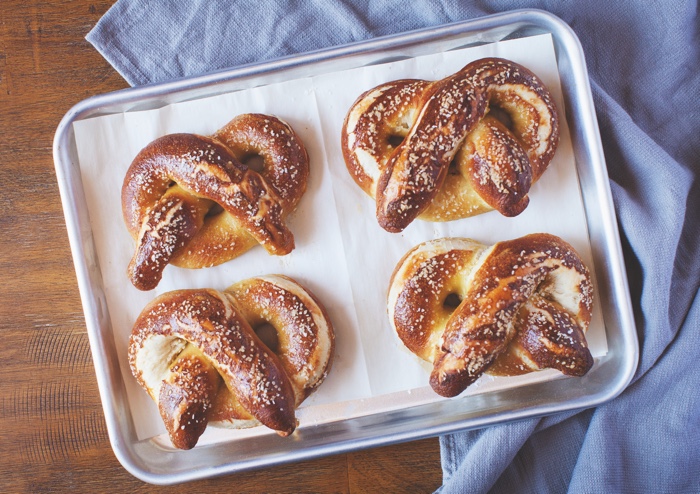
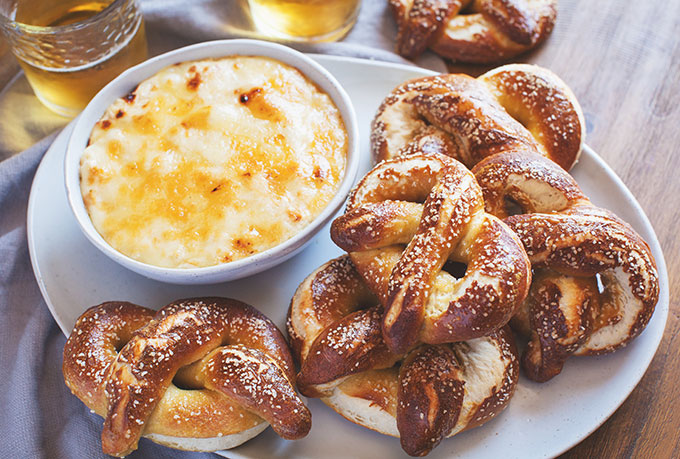
We think you’ll enjoy baking up one of our all-time favorite snacks: fluffy, warm-from-the-oven soft pretzels. (Even better? Bake them up alongside our Beer Cheese Dip for an indulgent tailgating treat.)
First things first: Do you know the legend of how pretzels came to be? The story goes that an Italian monk during the Middle Ages used leftover unleavened bread to roll out and shape like two crossed arms to reward children for memorizing their prayers. In fact, the name pretzel stems from the Latin word for “little arms.”
Today, soft pretzels are associated with German tradition, and with Oktoberfest upon us, fall is a terrific time to tackle making these delicious snacks at home.
The Yeast
Unlike those first unleavened pretzels made in Europe, our pretzels are made from a yeasted dough, with a final texture not unlike that of a good, chewy bagel. (The similarity between making pretzels and making bagels doesn’t end there, by the way. Read on.) If you’ve never made any yeasted doughs, you’ve come to the right recipe: pretzel dough is remarkably forgiving and resilient. In other words, it’s tough to mess this project up.
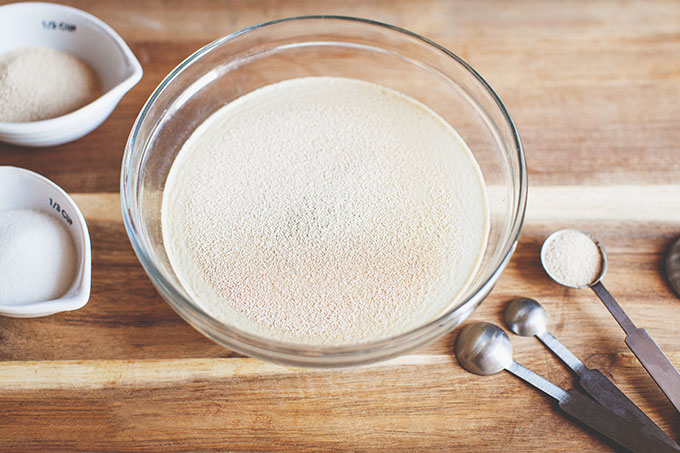
Look in your kitchen and you’re likely to find all the ingredients to begin. Make sure the bowl of your stand mixer is clean, then add warm water to it, just slightly warmer than your body temperature (somewhere between 105 and 110 degrees F). Remember, this is a bit of a Goldilocks situation: If the water is too cold, it won’t activate the yeast, and if it’s too hot, it will kill the yeast.
Add your packet of yeast, stir with a fork, and set aside to “proof” (i.e. activate) while you gather the rest of your ingredients. When the yeast has reacted with the warm water enough to bubble up and appear slightly slimy, it is ready for action―about 5 minutes. If the yeast did not activate, start over and check a) the freshness of your yeast and b) your water temperature.
The Dough
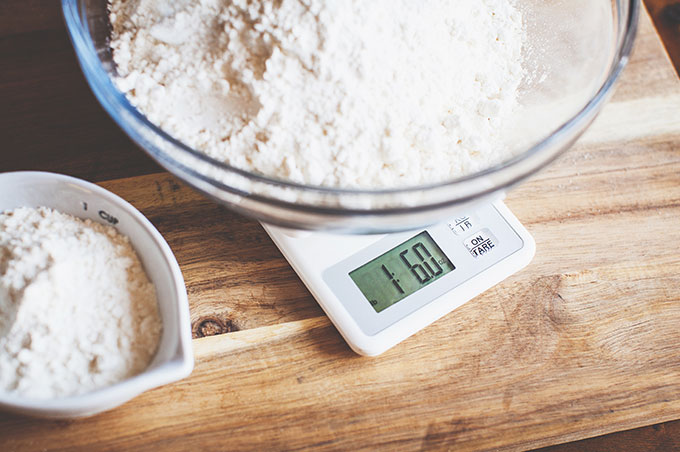
Once the yeast has bubbled, it’s time to start your dough. We highly recommend weighing your flour first (375-400 grams in the case of our recipe) as it is a more foolproof way to measure, but if you can’t, try sifting it before measuring instead. Add the salt, sugar and 2 tablespoons Challenge Butter to the yeast mixture and knead with the dough hook in your stand mixer on low-medium speed. Gradually add in the flour, scraping down the sides of the bowl with a rubber spatula with each addition, until the dough becomes a satiny, elastic ball, and the sides of your mixer bowl are free of dough―about 8 minutes. Remove the dough, toss a little glug of cooking oil into the mixer bowl, and return the dough to it, tossing to coat in oil. (Without oil, the dough will become very sticky as it rises, and will become tough to remove from the bowl without tearing.)
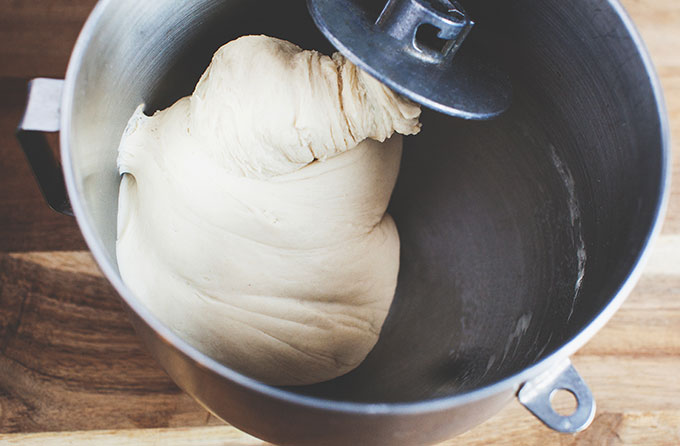
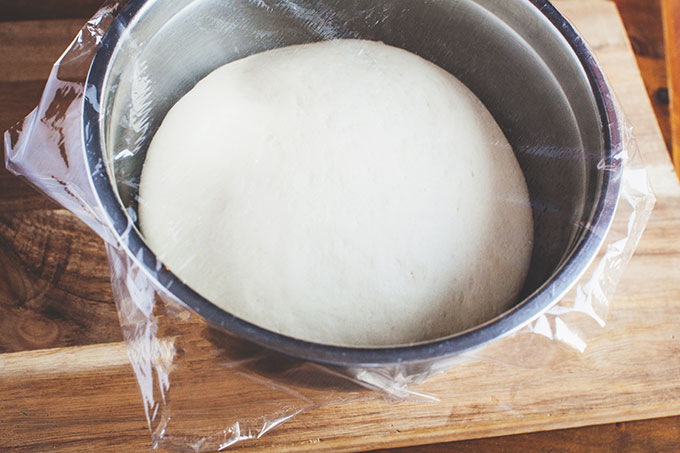
Place plastic wrap on the top of the bowl and move to a warm, draft-free location. Yeasted dough is very sensitive to weather, so if it’s chilly in your home, place the bowl in a sunny window or in a closed oven to rise. Depending on the conditions, your dough will likely expand to twice its size in 30-60 minutes.
The Shape
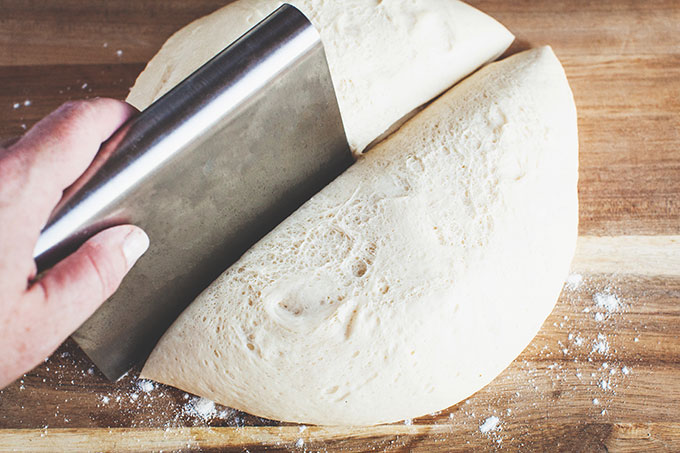
Once the dough has risen, preheat your oven to 450 degrees F and start shaping your pretzels. Gently remove the dough from the bowl, and place on a lightly floured work surface. (Alternatively, wet your hands with oil to shape pretzels for a smoother effect.) Use a pastry cutter or sharp chef’s knife to divide the dough into 8 pieces, then, shape each piece into a 5-inch square, patting it into shape with your hands, and roll each square into a rope.
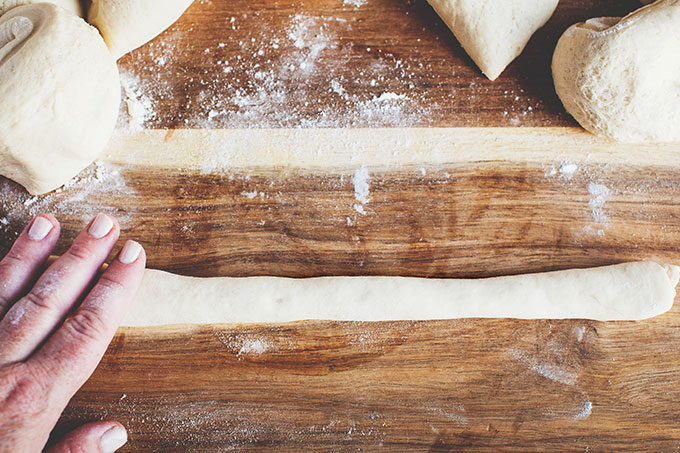
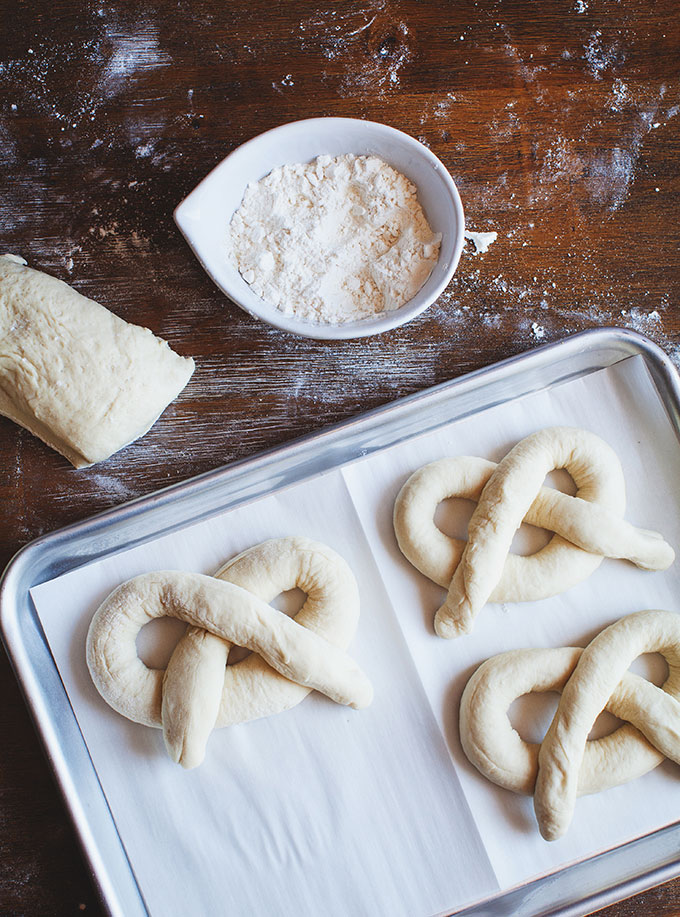
Continue to roll (like you’re making “snakes” with clay!) until the rope reaches a length of 20 inches and, if you’re working on a floured work surface, make sure the ends of your rope are sealed to avoid a ragged edge. To get that cute traditional arms-crossed shape, form a circle with each rope, twist the ends around one another in the middle, and press ends into opposite sides of the circle. Tip: when you move each pretzel to the baking sheet to rest, be sure to put parchment paper down to keep pretzel dough from sticking. Also, place a damp tea towel over them as they rest to keep dough hydrated.
The Boil
One of the most distinctive qualities of pretzels (and bagels) is the tangy flavor they absorb from being boiled in a mixture of water and sodium bicarbonate, also known as baking soda. While the pretzels rest and puff up a bit more, bring water to boil in a stock pot or dutch oven. Then, and only then, add baking soda, little by little. (If baking soda is added before water comes to a boil, you’re in for a foamy surprise!)
To lower the pretzels into the pot, we like using a large, flat spatula like those made for flipping pancakes. Alternatively, we’ve seen people bend up the handle of a round splatter screen to be able to lower pretzels into the pot, simmer, and remove quickly and easily. Find whichever method you’re most comfortable with, and when the pretzels have boiled, return them to the baking sheet.
The Bake
Before you put those pretzels in the oven, sprinkle them with salt and then pop the baking sheet in the oven.
Pretzels don’t take long to bake, but don’t forget to turn the baking sheet halfway through. Before you know it, your home will be filled with the intoxicating scent of freshly baked yeasted dough. Pay attention to that aroma: when it reaches its most pungent, check on pretzels every few minutes to ensure they’re not burning. Once they’re golden brown on top―and the scent is making you salivate―remove from the oven, brush with remaining melted butter, and allow them to cool. And then? Dig in.

